Tour Paths can be created using the RICOH360 Tours Management Console.
A path is created room by room on where you want to navigate within your tour. You simply place a label where you want your visitor to go. When a label is selected, the visitor will be taken to that room.
Creating a Tour Path
- Login to the RICOH360 Tours management console app.ricoh360.com
- Select the tour where you would like to add tour paths
- Click
in the upper right corner of the screen
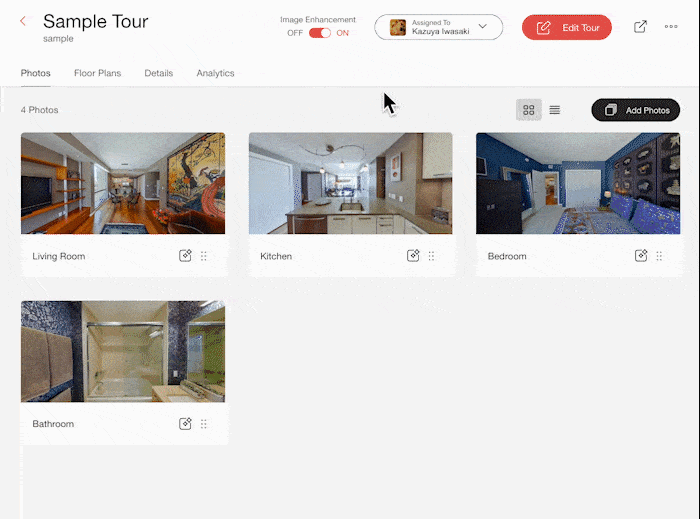
- Click on the thumbnail of the image you want to add paths to. The image will be displayed in the From window on the left.
- Drag and drop the thumbnail of the image you want to move to onto the image in the FROM window on the left, and an arrow icon will appear.
- You can change the position of the arrow by dragging and dropping the arrow icon.
On the Right window, the room you are moving to (Return path) will display. You can reposition the arrow on the right image to the area you just came from so that when your client moves to that room they can go back to the room they just came from.
Continue steps 3-6 for each room that you want to create tour paths for.
When your client views your tour this is what they will see for the tour path:
When they click on the arrow, they will see the room name they are going to, and the app will navigate to the room.
Checking the Return Path images
When a Tour Path is set, an icon will appear in the upper right corner of the thumbnail. You can click on it to see which image it is associated with.
If you want to delete the arrow
Drag the tour path in the From image on the left, and a trash can icon will appear at the bottom of the image. Drop the tour path onto the trash icon to delete the tour path.